Appearance
Video Timeline
Pro
The Video Timeline is an Orbit Pro feature.
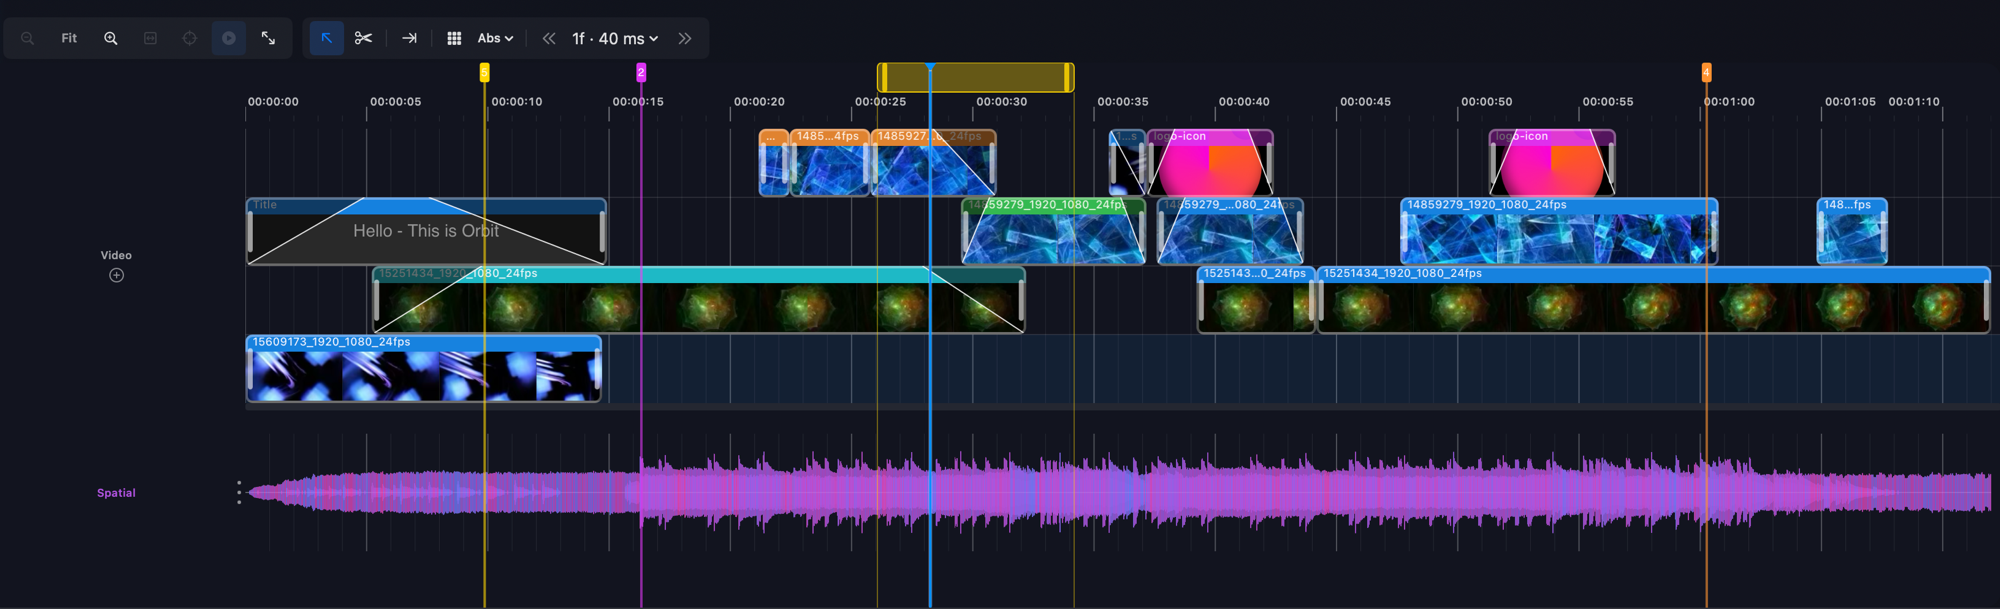
The Video Timeline is where you lay out and arrange video against your audio. It shows the spatial waveform — the same one you see in the Overview — beneath a video lane holding your clips.
The video lane
In Orbit 1.5 the video lane is auto-expanding: when you lift a clip and place it, Orbit creates additional lanes as needed to hold overlapping content.
Adding video to the timeline
Adding video to the timeline is as simple as dragging either a whole clip or a clip selection from the bin onto the lane. Watch the video below.
For previewing a clip and choosing the region to drag, see Video Clip Inspecting & Preview.
Timeline controls
Two sets of controls run along the top of the timeline — zoom controls on the left, and editing and grid controls on the right.

Zoom controls
The zoom controls are the same ones found on the audio Timeline View. Left to right:
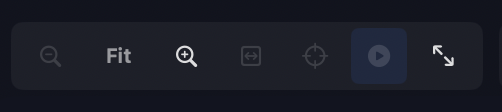
- Zoom Out
- Current Zoom Level
- Zoom In
- Fit to Window
- Jump to Playhead
- Follow Playhead — keeps the playhead on screen when you're zoomed in and it would otherwise scroll out of view.
- Fit to Region — zooms to fit the current region or loop region, when one is set.
You can also zoom in and out with the up / down arrow keys.
Editing controls
The editing controls (the select and blade tools) also appear in the audio Timeline View, but they aren't currently used for audio — that's on our roadmap.
Grid controls
The grid controls set how clips snap as you move them.
Grid mode — switch between an Absolute grid and a grid Relative to start.
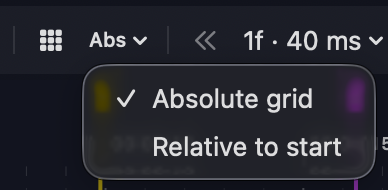
Snapping level — choose the snap interval, either in frames (1, 5 or 10 frames) or in time (from 1 ms up to 10 seconds).
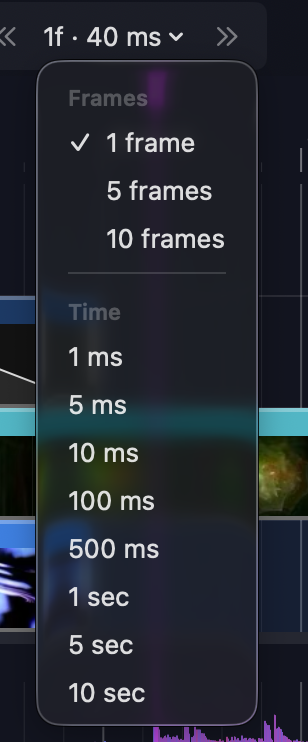
Nudge — nudge a selected clip left or right with the left / right arrow keys. The nudge distance follows the current grid snapping level. (The on-screen nudge buttons aren't wired up in Orbit 1.5 yet, but will be in a future update.)

Clip types
The video lanes can contain three types of clip:
- Video Clips
- Graphics Clips
- Text Generator Clips
More clip types may be added in future versions of Orbit.
Clip colours
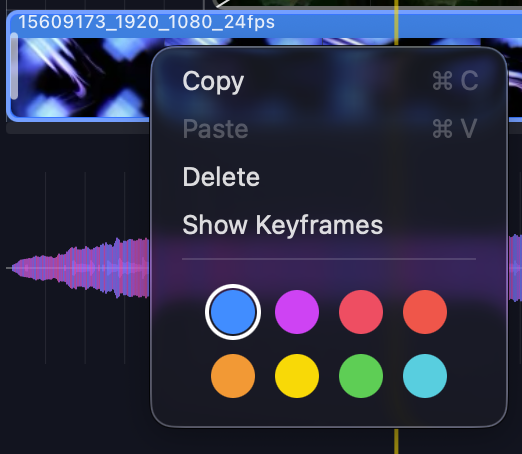
Right-click a clip and pick a colour to categorise it as you like.
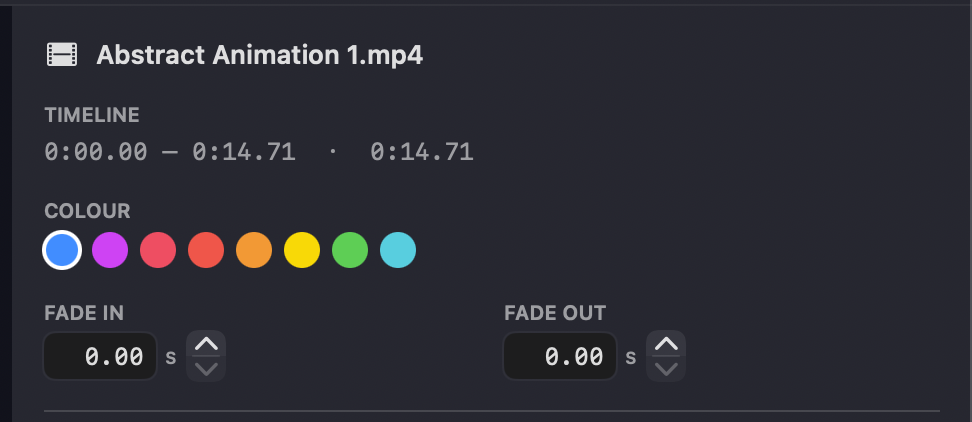
You can also set the colour from the right-hand inspector when a clip is selected.
INFO
Only Video Clips can be recoloured. Text and Graphics clips use fixed colours — blue for text and pink for graphics.
Keyboard shortcuts
| Shortcut | Action |
|---|---|
| A | Select tool |
| B | Blade tool |
| T | Trim to end of session |
| ← / → | Nudge the selected clip left / right by the current grid amount |
| ↑ / ↓ | Zoom in / out |